
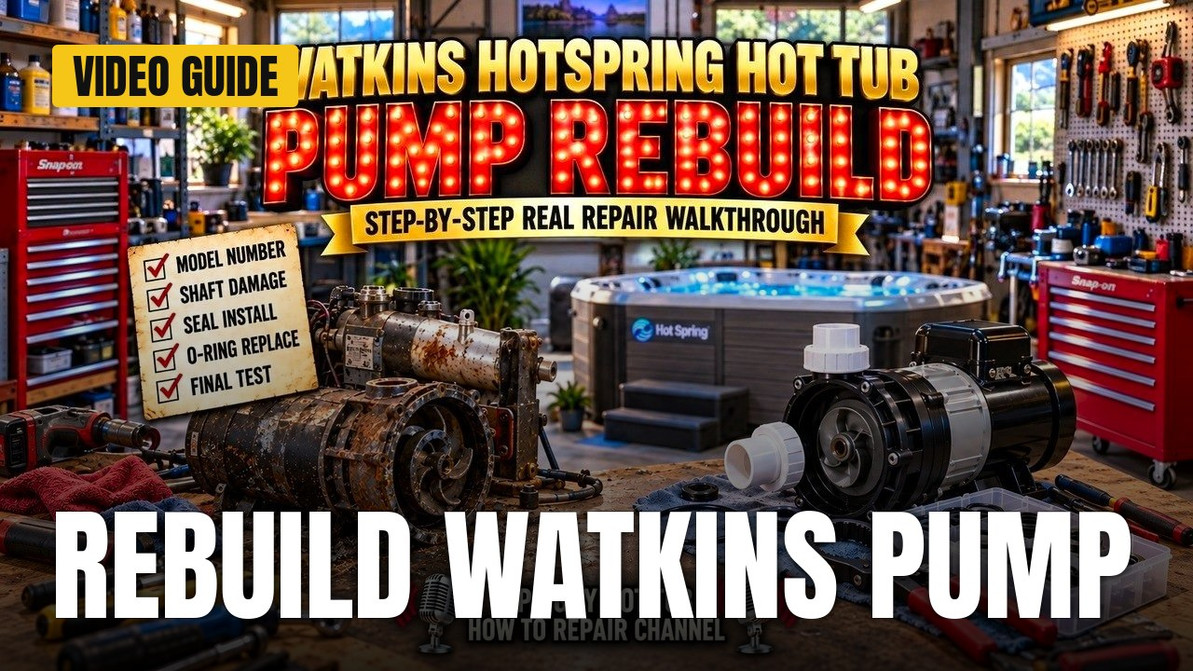
Watkins Hot Tub Pump Rebuild: Step-by-Step Guide
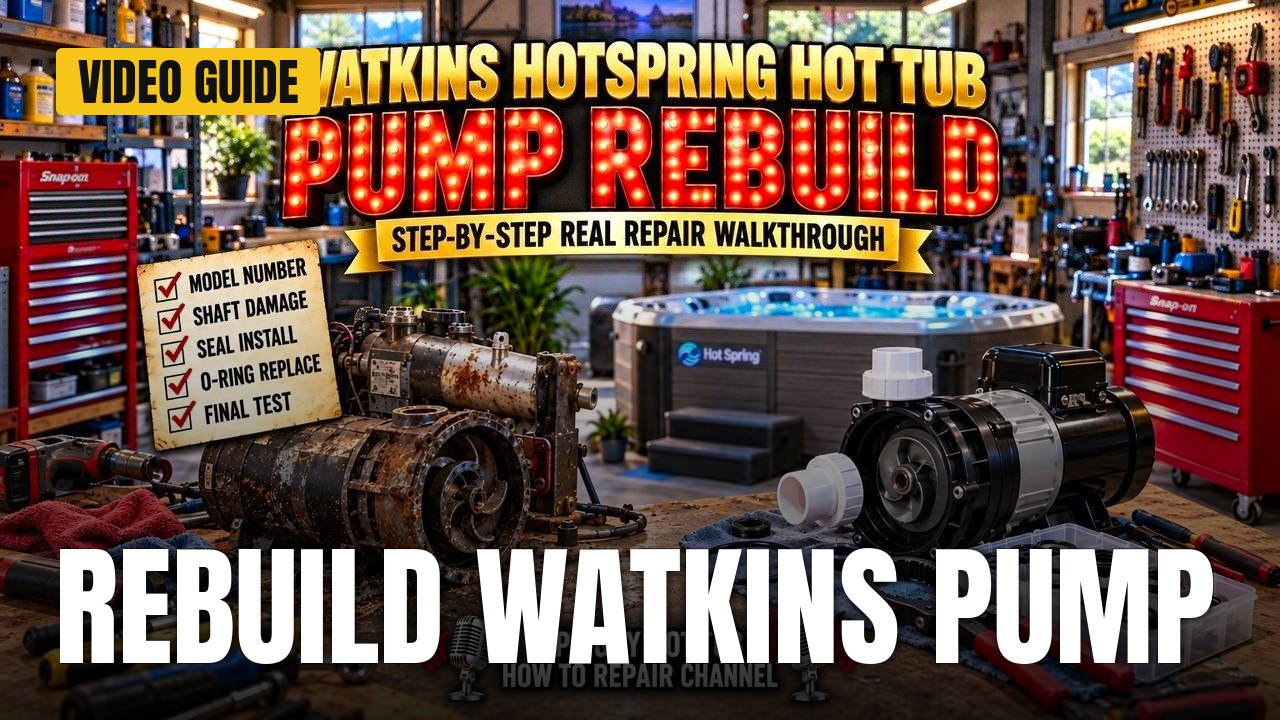
Your Watkins pump is leaking, humming or stuck
If you own a Hot Spring, Caldera, Tiger River, Hotspot or Solana tub, you have a Watkins pump. When it leaks, locks up or just hums, the hard part is knowing which parts to order and whether the pump can be saved.
The tub in this video is a Hot Spring Prodigy. The pump had been leaking, the shaft looked badly damaged, and the pump would not turn at all. The Spa Guy repaired it on camera, and the steps below follow the order of the video.
The rebuild, one step at a time
Step 1: Identify the pump. Watkins does not make its own pumps. These brands buy pumps and put their stickers on them. Find the label and note two things: the pump model number (36675 in this video) and the vendor code (4081). Vendor code 4081 means an Aquaflow pump. The video stresses getting the vendor code right, because it changes everything. Another example in the video has the same vendor code with a pump model number starting with a zero.
The 115/230 marking and the single amperage listed for each voltage told him this was a one-speed, dual-voltage pump. He calls that unusual and says it is particular to the Watkins brand.
Step 2: Get the pump out. Take a picture of the wiring before you disconnect anything. Four hex head screws hold the motor foot, two on each side. A flexible extension with a 7/16 socket reaches the back ones. He uses oil filter pliers on the big nuts on pumps and heaters. In this tub the heater had to come out first, because the pump could not come out with the heater in place. The pump sits on rubber mounts that twist into slots.
Step 3: Inspect it. The shaft was rusty and swollen and the pump would not turn. There was oil inside the back cover. The Spa Guy thought a capacitor might have burst, or that grease had melted out of the rear bearing. He also says he is not a fan of the back cover on these tubs, because he thinks it keeps the motor from cooling and shortens its life. That is his opinion. He also warns that a locked motor that sits and hums can ruin the windings, and he was not sure this motor could be saved.
Step 4: Take it apart. Remove the eight Phillips screws on the pump face. Then mark across the plates so they can line up again later, and remove the four through bolts. Tap the back cover off with a punch and a screwdriver, then knock the rotor out. Be careful with the centrifugal switch and the small fan on the rotor. If you crack that fan, you cannot buy a replacement.
Step 5: Get the impeller off a swollen shaft. The motor was not strong enough to hold the rotor while he broke the impeller loose, so he clamped the rotor in a vise with a rag to protect it. He gripped the impeller with oil filter pliers. Channel locks were too bulky to fit in there. The swollen plastic sleeve was stuck inside the seal, so he broke the seal's ceramic piece out with pliers. Wear safety glasses for this. The rest of the swollen material came off by hand.
Step 6: Check the motor. The front bearing turned easily and made no noise, because the slinger had kept water out. He put the rotor back, marked the plates lined up, and made sure the switch sat between the bearing and the plate and that the wave washer was in place. The wave washer is meant to be wavy and is not broken. He ran the motor on a simple plug he made up, and it sounded pretty good. He cleaned the shaft with pliers and a wire brush, and it was good enough to reuse.
Step 7: Find the parts. On his site he entered the pump model and the vendor code. It showed a complete wet end, an impeller kit with a seal and bearing, and an impeller kit with just a seal. The seal kit was the one this repair needed. Compare the new impeller with your old one, but do not expect an exact match, because impellers change over time. This one was a hair larger than the old one and is the latest version. He also notes that the label horsepower on this pump is not exactly what you might expect.
Step 8: Install the seal and impeller. File down any ridge on the shaft. The impeller should thread on and off with your fingers before you put anything together. Use a tiny bit of silicone on the shaft as a lubricant, then slide the seal on with the install tool. Do the same for the ceramic piece, and tap it in straight if needed. Check the direction of the wet end against your marks.
Step 9: Reassemble. Snug the through bolts without cranking them down, so you can get the pump apart again someday. Hold the back of the rotor with a flat screwdriver and thread the impeller on until it compresses the seal. Fit a new O-ring in the groove on the face. Match the bleeder at the bottom and the alignment tabs, then cross-tighten the eight screws without overtightening. The shaft then turned easily by hand.
Step 10: Put it back. Replace the O-rings on both unions. The Watkins unions use an unusual size, so search for Watkins pump union O-rings on the site. Connect the plumbing before you screw the pump down, so nothing sits in a bind. Make sure no O-ring is pinched. When the front bleeder barb came off a little too easily, he added a little silicone for extra sealing. That is a suction side, so there is no pressure there.
Step 11: Test. The pump held water, ran and the heater came on. The topside panel showed locked and the screen acted strangely, and he suspected the topside was bad. In the last clip the pump was running correctly and the tub was heating.
Who is showing you this
Hot Tub Parts of America is owned and run by The Spa Guy team, the same people who make these videos. The person who rebuilt this pump on camera is the one who can help you find the parts.
What you get from doing it this way
- You can tell what pump you have from the model number and vendor code, so you order the right parts.
- You see a seized, swollen-shaft pump come apart and go back together, including the tricky seal removal.
- You get tool tips, such as a flexible 7/16 socket and oil filter pliers, that make a tight job easier.
- Marking the plates and photographing the wiring helps you reassemble the pump correctly.
- You can choose the repair that fits: a seal and impeller kit, one with bearings, a complete wet end or a whole pump.
Get your Watkins pump parts and watch the full video
Watch the video to see each step of this rebuild. Then look up your pump model number and vendor code at Hot Tub Parts of America and see which kit you need. If you cannot find a part on the site, contact the team and they will help you figure it out.
Oil filter pliers and Watkins pump union O-rings are available on the site too.
- Watkins pump parts at Hot Tub Parts of America
- Pump seal and impeller kits at Hot Tub Parts of America
- Pump union O-rings at Hot Tub Parts of America
- Oil filter pliers at Hot Tub Parts of America
Watch the full video on YouTube
Recent Posts
-

Watkins Hot Tub Pump Rebuild: Step-by-Step Guide
Your Watkins pump is leaking, humming or stuck If you own a Hot Spring, Caldera, Tiger River, Hotsp …Nov 17th 2026 -
Breaker Tripping? Step-by-Step Hot Tub Heater Test and Swap
Your hot tub breaker trips and won't reset You flip the breaker back on, and it trips again. Or it …Nov 16th 2026 -

Hot Tub Diverter Valves Explained: 1-Inch vs 2-Inch
Posted by The Spa Guy Diverter valves are one of the most misunderstood parts in a hot tub. Most peo …Feb 11th 2026