
Breaker Tripping? Step-by-Step Hot Tub Heater Test and Swap
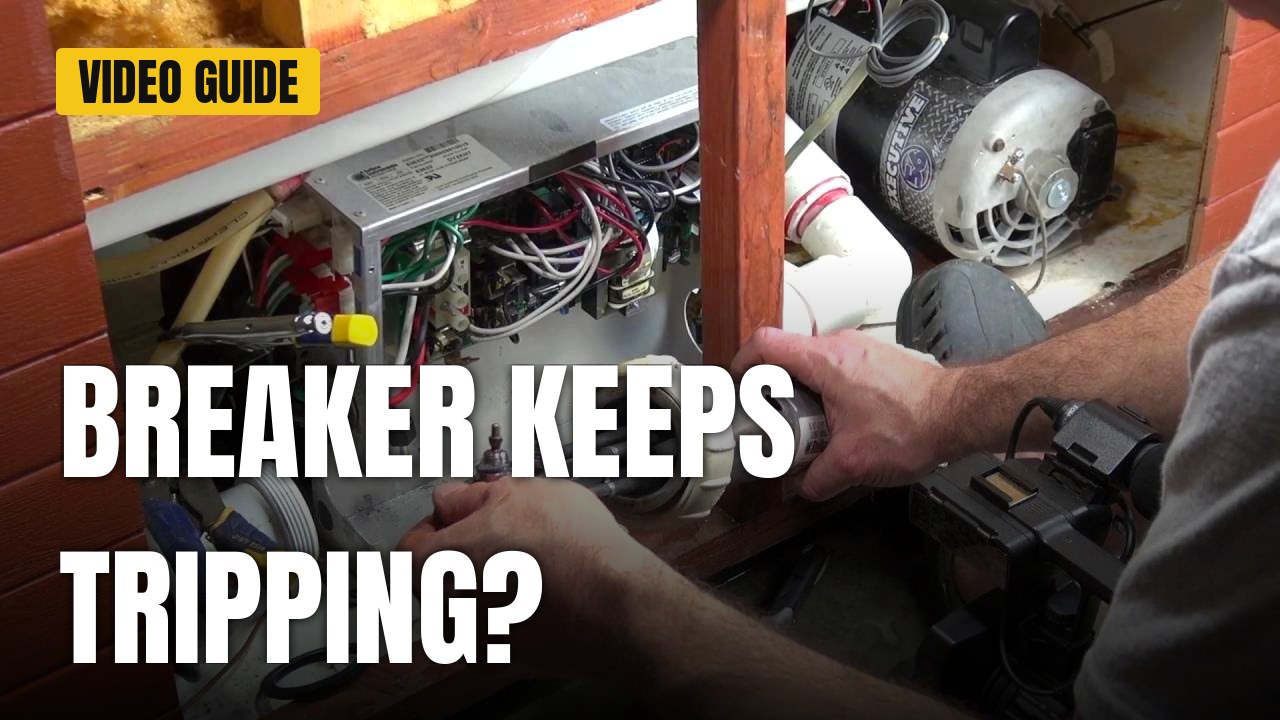
Your hot tub breaker trips and won't reset
You flip the breaker back on, and it trips again. Or it goes all the way off, you reset it, and it trips right away. You don't know if the problem is the heater, a pump, or something in the wiring.
In the video, The Spa Guy suspects the heater on the tub he's working on, but he says he doesn't know it for a fact. So he shows the order of tests he uses to find out before anyone buys a part.
The order of tests, then the heater swap
Step 1: Unplug the extras. If the tub has a blower, unplug it from the pack and try the breaker again. If that changes nothing, unplug the ozonator, the small ozone device usually plugged into the side of the pack. It's often labeled on the pack. Then unplug the circulation pump and each jet pump. Mark every plug first so each one goes back where it came from. Reset the breaker after each step. On this tub it still tripped.
Step 2: Isolate the heater. Make sure the power is off, then use wrenches to loosen the nuts and pull the wire tabs off the heater. Hold the bottom nut with a 1/4 inch wrench (some heaters use 3/8) and loosen the top nut with a 3/8. Holding the bottom one keeps you from twisting an electrode off a heater that may be fine. Once the tub is powered, there is 115 volts on each leg, so be careful. If the breaker holds with the heater disconnected, the heater is bad. Here the breaker held and the pumps came on. He also points out rust around the edge of one leg, which he takes as a sign it leaks up from the bottom through the epoxy.
If the breaker still won't hold, he says to look at wiring. A tub that has run for a year or years is unlikely to have a GFI or wiring problem. A tub that was just wired up and won't hold could have the GFI wired wrong. Look for miswired or touching wires, a plug in the wrong place, or a wire pinched in a collet. These usually leave a burn mark. He has serviced about 7,000 tubs and has never seen a bad transformer on a Balboa or Gecko, and only one on a Sundance, so he doesn't blame the transformer.
Step 3: Isolate the water. He doesn't drain the tub. He closes the slice valves (service or gate valves) on both sides of the heater by removing the keeper, pushing the valve in, and twisting. He warns they may not hold, especially on older tubs. He also pinches the bleeder hose on the front of the pump with needle-nose vise grips. He found that pinching at an angle stops water better than a straight pinch. If a nut gushes water when loosened, look for an air bleeder. If you can't find one, the valves probably won't hold. In the video they didn't hold well, so he pulled the water down.
Step 4: Remove the heater tube. On this tub he unplugs the M7 sensors from the tube, leaving them plugged into the board, and takes off the two bands. Some tubs use a pressure switch instead, as Gecko-style packs do. The tube label on this one reads 5.5 KW.
Step 5: Take out the old element. The two big nuts take a 3/4 inch or 19 mm wrench. Tap the element out, push the electrodes down into the holes, and slip it out at an angle because of the sensor. The rust he sees on the old element shows it was leaking through the back.
Step 6: Prep and install the new element. Check that the O-rings are in place. He clean up rust in the tube with a wire brush. He puts a little silicone, which he calls Professor Sil Juice, around the threads by the O-ring. Slide the element in, tighten the nuts, and hold a finger inside to keep the element off the tube wall while you tighten. Then back off a little and line it up in the center. The element must not touch the inside of the tube, because that creates a hot spot. If the epoxy part spins, he says you may have to cut the nuts off with a hacksaw.
He uses titanium heaters rather than the standard Incoloy style, because titanium resists salt and other things. He says it is not impervious, only resistant. His reasoning is that chlorine is a salt derivative and almost all sanitizers are based on salt.
Step 7: Reassemble. Push the sensors all the way in and snug them by hand. Replace the gasket if it's been a while, because chemicals eat gaskets, and a split gasket stops the job until it's replaced. He doesn't fully tighten anything until the bands are on. Then tighten the heater nuts while holding the electrode so it doesn't twist, and snug the tube with oil filter pliers.
Step 8: Refill and check. Open the slice valves and listen for air. Air coming out means a leak, so find it and snug things back up. Then turn the breaker on. On this M7 system the heater does an 8-second test fire and looks for about a 3 degree rise between the two sensors, which takes about 25 gallons per minute of flow. Less than that gives a flow or Dr code. On a 5.5 kW heater he saw roughly 20.5 amps, and he says a 4 kW should be about 15.5. The tube should feel the same temperature as the tub water, not hotter. His tub threw a Dr code from trapped air, and he bled it at the bleeder plug until water was moving. He notes not all brands have this bleeder.
A different problem: If the tub just won't heat, a bad heater is rare. Check across the heater with a meter in ohms. On this 5.5 kW he read about 10.5 to 10.6, which is good. A 4 kW reads about 15.5. Check voltage too. At home you should see 240 across the black and red input, half that from red or black to white, and zero from white to ground. If the red heating light is on but there is no 240 across the heater and half voltage to ground on both sides, he says that points to a cold solder joint on the board.
Who is behind the parts and the video
Hot Tub Parts of America is owned and run by The Spa Guy team, the same people who make these videos.
What you get by testing before you replace
- You find out whether the heater is the problem before you buy a part.
- You rule out the blower, ozonator, and pumps by simple unplugging, without any special tools.
- You learn the clues for wiring or GFI problems, and why the video doesn't blame the transformer.
- You can swap the element yourself, with tips on silicone, O-rings, and centering the element so it doesn't make a hot spot.
- You know what to check after the swap: air at the slice valves, the test fire, amp draw, and flow codes.
Get the parts and watch the full video
Watch the full video to see each step done on a real tub, including the test where the breaker trips the moment the bad heater is reconnected.
When you know what you need, shop Hot Tub Parts of America for heater elements, gaskets, and pressure switches. The video description links straight to the titanium elements. The Spa Guy sums up the store this way: for heaters, pressure switches, and other parts, they probably have it.
- Heater elements at Hot Tub Parts of America
- Titanium heater elements at Hot Tub Parts of America
- Gaskets at Hot Tub Parts of America
- Pressure switches at Hot Tub Parts of America
Watch the full video on YouTube
Recent Posts
-
Breaker Tripping? Step-by-Step Hot Tub Heater Test and Swap
Your hot tub breaker trips and won't reset You flip the breaker back on, and it trips again. Or it …Nov 16th 2026 -

Hot Tub Diverter Valves Explained: 1-Inch vs 2-Inch
Posted by The Spa Guy Diverter valves are one of the most misunderstood parts in a hot tub. Most peo …Feb 11th 2026 -

Horsepower vs Amperage: The Truth About Hot Tub Pumps
Posted by The Spa Guy If you are shopping for a replacement hot tub pump and you are focusing on the …Feb 11th 2026